
Wallet permissions let you give an agent spending power without giving up control. The pattern is straightforward: register a temporary session key on a user's smart account, scope its permissions, let the agent sign transactions with it, and let it expire. No custody transfer. No infinite approvals. Just time-boxed, revocable delegation.
See Openfort's security model — non-custodial key management with sharded signers and self-hostable infrastructure.
This guide walks through the architecture and implementation. We'll build a system where a backend agent executes DCA (Dollar-Cost Averaging) trades on behalf of users using 5-minute session keys. The full working example is available in the agent-permissions recipe.
The Permission Model
Smart accounts store a registry of authorized keys. Each key has three properties packed into a single uint256:
- isAdmin (bit 200): Whether the key has full account control
- expiration (bits 160-199): Unix timestamp when the key stops working
- hook (bits 0-159): Optional validator contract for custom logic
An admin key can do anything—register other keys, change settings, move funds. A non-admin key can only sign transactions within its scope. For agent delegation, you always want non-admin.
_10// Pack key settings into a single uint256_10function packSettings(settings: KeySettings): bigint {_10 const admin = settings.isAdmin ? BigInt(1) : BigInt(0)_10 const exp = BigInt(settings.expiration)_10 const hook = BigInt(getAddress(settings.hook))_10 return (admin << BigInt(200)) | (exp << BigInt(160)) | hook_10}
The key itself is identified by a hash of its type and public key: keccak256(abi.encode(keyType, keccak256(publicKey))). This means you can register multiple keys of different types—passkeys (P256), browser wallets (WebAuthnP256), or backend signers (Secp256k1)—all on the same account.
How It Works
The flow has two sides: the user grants permission, and the agent uses it.
_14┌──────────────┐ ┌───────────────────┐ ┌─────────────────┐_14│ User │────→│ Smart Account │←────│ Agent (Backend) │_14│ (Owner key) │ │ (Key Registry) │ │ (Session key) │_14└──────────────┘ └───────────────────┘ └─────────────────┘_14 │ │ │_14 │ 1. Register key │ │_14 │ 2. Set expiration │ │_14 │─────────────────────→│ │_14 │ │ 3. Sign UserOp │_14 │ │←───────────────────────│_14 │ │ 4. Verify key │_14 │ │ 5. Check expiration │_14 │ │ 6. Execute │_14 │ │───────────────────────→│
Step 1-2: The user registers the agent's address as a Secp256k1 key on their account and sets a 5-minute expiration. This happens in a single transaction containing two calls:
_19// Register the agent's address as a session key_19const agentKey = {_19 keyType: KeyType.Secp256k1,_19 publicKey: padHex(agentAddress, { size: 32 }),_19}_19_19const registerCall = encodeRegisterKey(agentKey)_19const keyHash = hashKey(agentKey)_19_19// Set permissions: non-admin, 5-minute expiration, no hook_19const updateCall = encodeUpdateKeySettings(keyHash, {_19 isAdmin: false,_19 expiration: Math.floor(Date.now() / 1000) + 300,_19 hook: ZERO_ADDRESS,_19})_19_19// Execute both in a single transaction_19const txData = encodeExecute([registerCall, updateCall])_19await sendTransactionAsync({ to: accountAddress, data: txData })
Step 3-6: Within the permission window, the agent signs UserOperations using its session key. The smart account validates the signature, confirms the key hasn't expired, and executes the operation. All gas is sponsored by a paymaster—users pay nothing.
Backend Agent Execution with Session Keys
On the backend, a cron job picks up active agents and executes trades. The agent creates a "session account"—a Viem smart account instance configured with the session key instead of the owner key. This is powered by an Openfort backend wallet:
_10// Create a session account for the agent_10const sessionAccount = await createCaliburSessionAccount({_10 client: publicClient,_10 signer: agentSigner, // Backend wallet from Openfort_10 address: userAddress, // The user's smart account_10 keyHash: agentKeyHash, // Hash of the registered session key_10})
This session account can construct and sign UserOperations that will be accepted by the user's smart account—but only while the session key is valid.
The actual execution bundles multiple calls into a single UserOperation:
_22// Execute DCA: transfer USDC out, receive tokens back_22const userOp = await bundlerClient.sendUserOperation({_22 account: sessionAccount,_22 calls: [_22 {_22 to: USDC_ADDRESS,_22 data: encodeFunctionData({_22 abi: erc20Abi,_22 functionName: 'transfer',_22 args: [treasuryAddress, dcaAmount],_22 }),_22 },_22 {_22 to: TOKEN_ADDRESS,_22 data: encodeFunctionData({_22 abi: mintAbi,_22 functionName: 'mint',_22 args: [userAddress, tokenAmount],_22 }),_22 },_22 ],_22})
The bundler submits the operation, the paymaster sponsors gas, and the smart account validates that the agent's session key is still active before executing.
Security Properties of Wallet Permissions
This model gives you three things simultaneously:
Autonomy: The agent executes without the user approving each transaction. Once the key is registered, the cron job handles everything.
Control: The user sets the rules. Five-minute expiration means the worst-case exposure window is five minutes. Non-admin status means the agent can't register other keys or change settings. The user can revoke the key at any time with a single transaction.
Non-custody: The platform never holds user funds. The agent's signing key lives in a backend wallet provisioned by Openfort, but it can only sign operations on the user's account within the permission window. The user's owner key always retains ultimate authority.
The key insight: permissions are enforced at the smart account level, not by the agent's good behavior. Even if the agent's backend is compromised, the attacker can only act within the permission scope—and only until the key expires.
Extending Wallet Permissions Beyond Time-Based Expiration
The DCA example uses a simple time-based expiration, but the programmable wallet controls model supports richer constraints:
Hooks: The hook field in key settings points to a validator contract. This contract runs custom logic before every transaction the key signs. You could enforce spending limits, restrict which contracts the key can interact with, or require additional signatures for high-value operations.
Multiple keys: An account can have many active keys simultaneously. You might have one session key for a trading agent (5-minute window), another for a subscription service (30-day window), and your owner passkey for manual transactions.
Programmatic revocation: Keys can be revoked proactively. If your monitoring detects unusual behavior from an agent, revoke its key immediately—don't wait for expiration.
The Wallet Permissions Technology Stack
The agent-permissions recipe uses:
- Openfort for embedded wallets, backend wallet provisioning, and gas sponsorship
- Calibur smart accounts (EIP-7702 + EIP-4337) for the key registry and permission enforcement
- Next.js for the frontend and API routes
- Vercel Cron for automated agent execution
- Upstash Redis for DCA configuration storage
The architecture separates concerns cleanly: the frontend handles authentication and permission granting, the backend handles agent execution, and the smart account handles permission enforcement.
_21┌─────────────────────────────────────────┐_21│ FRONTEND (React 19 + Wagmi) │_21│ • Email OTP authentication │_21│ • Passkey wallet creation │_21│ • Permission granting UI │_21├─────────────────────────────────────────┤_21│ BACKEND (Next.js API Routes) │_21│ • Agent wallet provisioning (Openfort) │_21│ • Cron-triggered DCA execution │_21│ • DCA config management (Redis) │_21├─────────────────────────────────────────┤_21│ SMART ACCOUNT (Calibur) │_21│ • Key registry │_21│ • Permission enforcement │_21│ • UserOp validation + execution │_21├─────────────────────────────────────────┤_21│ INFRASTRUCTURE │_21│ • Bundler (UserOp submission) │_21│ • Paymaster (gas sponsorship) │_21│ • Base Sepolia (testnet) │_21└─────────────────────────────────────────┘
Try It
Clone the recipe and run it locally:
_10pnpx gitpick openfort-xyz/recipes-hub/tree/main/agent-permissions \_10 openfort-agent-permissions_10_10cd openfort-agent-permissions_10pnpm install_10cp .env.example .env.local_10# Configure your Openfort and Upstash credentials_10pnpm dev
You'll need API keys from the Openfort Dashboard and an Upstash Redis instance. The recipe README has the full environment variable reference.
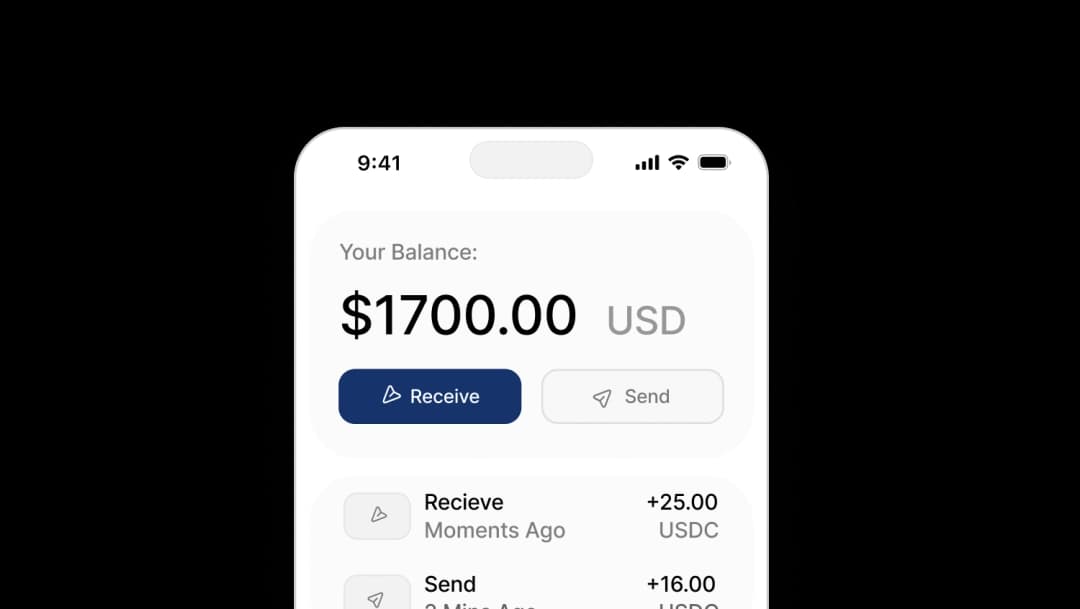
Once running, the flow is: authenticate with email, create a wallet, fund it with test USDC, enable DCA, and watch the agent execute trades every minute within the 5-minute permission window.
Wallet permissions turn the custody problem into a configuration problem. Instead of choosing between user control and agent autonomy, you define the boundary—and the smart account enforces it.
Ready to implement wallet permissions in your application? Explore the Openfort documentation or dive into the session keys guide for a deeper look at permission scoping.