
Stablecoins are the backbone of modern digital finance, combining the efficiency of blockchain technology with the price stability of traditional fiat. While building a secure wallet for these assets used to require deep cryptographic expertise, modern tools have made it accessible to any developer. In this guide, we'll walk through how to build a specialized stablecoin wallet from scratch using Openfort’s embedded infrastructure.
How to Build a Stablecoin Wallet?
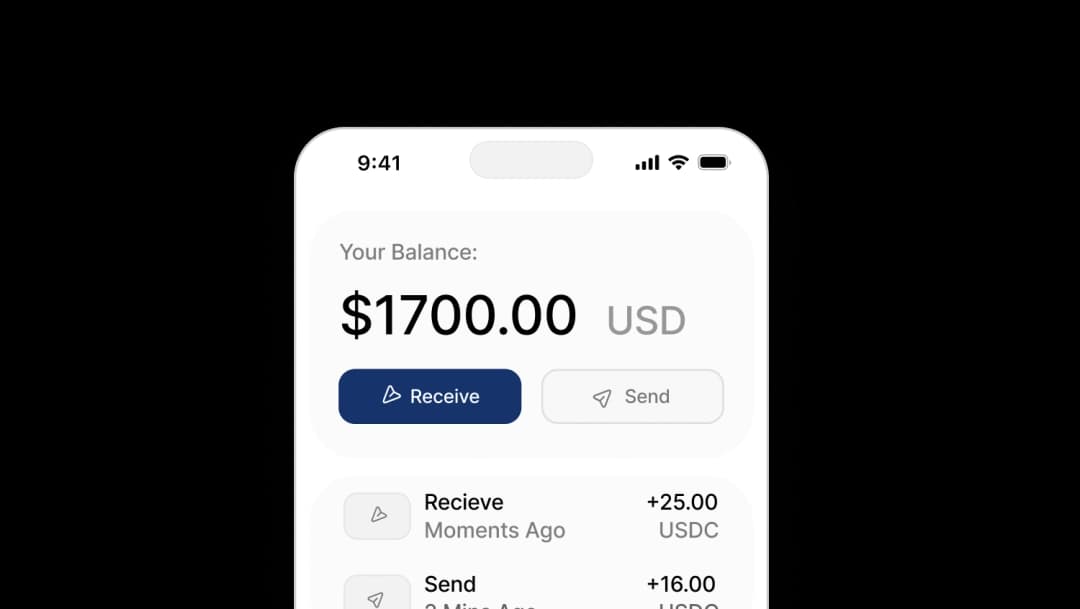
To build a stablecoin wallet, start by setting up a project with the Openfort SDK to handle secure, non-custodial key management. Next, choose an authentication method like passkeys or social login to ensure a frictionless user experience. You then configure a smart account for the user, which allows for advanced features like gas sponsorship—meaning users won't need to hold native tokens (like ETH) to send USDC. Finally, integrate a UI component for displaying balances and initiating transfers on a supported network like Base or Sepolia.
For a deeper dive into the infrastructure, check out our article on decoding the stablecoin infrastructure stack and what are stablecoins.
Why use Passkeys?
We'll be using passkeys for this wallet. Passkeys provide a secure and user-friendly way to authenticate users without the need for traditional passwords or complex seed phrases. This is perfect for a simple stablecoin wallet where ease of use is paramount.
For more on embedded wallets, read our embedded wallet explained guide.
Prerequisites
Before we start, ensure you have:
- Node.js installed
- An Openfort account
Step 1: Create a new project
The easiest way to get started is using the Openfort CLI. This sets up a new project with all necessary dependencies.
_10yarn create openfort
This command will guide you through setting up your project. You can choose your framework (Vite or Next.js) and enable the Embedded Wallet feature.
Step 2: Install Dependencies Manually (Optional)
If you prefer to add this to an existing project, you can install the necessary packages:
_10npm install @openfort/react wagmi viem@^2.22.0 @tanstack/react-query
Step 3: Configure Providers
To make your stablecoin wallet functional, you need to wrap your application with the necessary providers. We'll configure OpenfortProvider to use passkeys for recovery.
You'll need your Publishable Key and Shield Publishable Key from the Openfort Dashboard.
_47import React from "react";_47import {_47 AuthProvider,_47 OpenfortProvider,_47 getDefaultConfig,_47 RecoveryMethod,_47} from "@openfort/react";_47import { QueryClient, QueryClientProvider } from "@tanstack/react-query";_47import { WagmiProvider, createConfig } from "wagmi";_47import { baseSepolia, sepolia } from "viem/chains";_47_47const config = createConfig(_47 getDefaultConfig({_47 appName: "Stablecoin Wallet Demo",_47 chains: [baseSepolia, sepolia],_47 ssr: true,_47 })_47);_47_47const queryClient = new QueryClient();_47_47export function Providers({ children }: { children: React.ReactNode }) {_47 return (_47 <WagmiProvider config={config}>_47 <QueryClientProvider client={queryClient}>_47 <OpenfortProvider_47 publishableKey={"YOUR_OPENFORT_PUBLISHABLE_KEY"}_47 walletConfig={{_47 shieldPublishableKey: "YOUR_SHIELD_PUBLISHABLE_KEY",_47 }}_47 uiConfig={{_47 authProviders: [_47 AuthProvider.EMAIL,_47 AuthProvider.GOOGLE,_47 AuthProvider.WALLET,_47 ],_47 walletRecovery: {_47 defaultMethod: RecoveryMethod.PASSKEY,_47 },_47 }}_47 >_47 {children}_47 </OpenfortProvider>_47 </QueryClientProvider>_47 </WagmiProvider>_47 );_47}
This configuration sets up the wallet to use passkeys by default (RecoveryMethod.PASSKEY). This is a key feature for a modern, secure stablecoin wallet.
Step 4: Add the Wallet UI
Now, you can add the OpenfortButton to your app. This component handles the authentication flow and wallet interface.
_14import React from "react";_14import { Providers } from "./Providers";_14import { OpenfortButton } from "@openfort/react";_14_14export default function App() {_14 return (_14 <Providers>_14 <div className="flex flex-col items-center justify-center min-h-screen">_14 <h1>My Simple Stablecoin Wallet</h1>_14 <OpenfortButton />_14 </div>_14 </Providers>_14 );_14}
For more details on authentication, check out Openfort Kit authentication in React.
Conclusion
You've now built the foundation of a simple stablecoin wallet using Openfort and passkeys. This setup provides a secure and seamless user experience.
For a more detailed technical walkthrough, refer to the official documentation on passkey recovery.
Building a fintech product with stablecoins? Explore Openfort's Payments infrastructure for global settlement, compliance tools, and treasury management.