
Smart wallets are changing how users interact with digital assets by removing the need to manage private keys or pay for gas in native tokens. In this guide, we'll build a smart wallet that handles USDC transfers with a seamless, fee-sponsored experience.
What is a USDC Wallet?
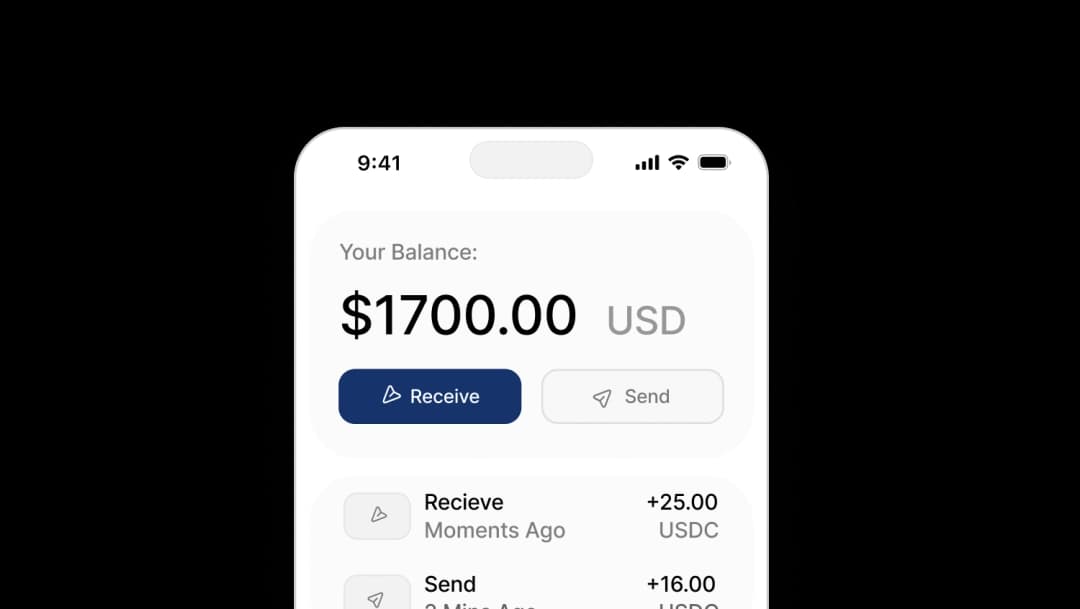
A USDC wallet is a digital account designed to hold and transfer the USDC stablecoin. By using Openfort’s smart wallet infrastructure, developers can build USDC wallets that don't require users to hold native chain tokens (like ETH or MATIC) for gas fees. Instead, fees can be sponsored by the application or paid directly in USDC using a "paymaster." This makes the wallet feel like a traditional fintech app while keeping the assets secure and non-custodial on-chain.
What we're building
We'll create a "USDC Transfer" application that demonstrates:
- Embedded Wallet Creation: Using Openfort Shield for secure, non-custodial wallets.
- Gas Sponsorship: Users pay network fees in USDC or have them fully sponsored.
- USDC Transfers: Seamless token transfers on the Sepolia testnet.
Prerequisites
- Node.js 18+
- An Openfort account
- Basic knowledge of React / React Native
Step 1: Bootstrap the Project
We'll start by using gitpick to clone the pre-configured recipe. This gives us a solid foundation with the necessary project structure.
_10pnpx gitpick openfort-xyz/recipes-hub/tree/main/usdc openfort-usdc_10cd openfort-usdc
This sets up a project with:
- Expo Router for navigation.
- @openfort/react-native for wallet functionality.
- Pre-built UI components for onboarding and transfers.
Step 2: Secure Backend Setup
Smart wallets, especially those using Openfort Shield, require a secure backend to handle encryption shares. This ensures that the wallet remains non-custodial and secure.
Clone and run the quickstart backend:
_10git clone https://github.com/openfort-xyz/openfort-backend-quickstart.git_10cd openfort-backend-quickstart_10cp .env.example .env_10pnpm install_10pnpm dev
This local server will handle the protected encryption sessions needed to create and restore the user's wallet.
Step 3: Configure Environment & Policies
To enable gas sponsorship, you need to configure a Policy in your Openfort Dashboard. This policy dictates how gas fees are paid (e.g., sponsored by the app).
- Go to the Policies section in the Openfort Dashboard.
- Create a new policy for Sepolia (or Base Sepolia).
- Copy the Policy ID.
Now, configure your mobile app's environment variables in .env.local:
_10OPENFORT_PUBLISHABLE_KEY=pk_test_..._10SHIELD_PUBLISHABLE_KEY=pk_test_..._10OPENFORT_SHIELD_RECOVERY_BASE_URL=http://localhost:3000_10OPENFORT_ETHEREUM_PROVIDER_POLICY_ID=pol_... # Your Policy ID
Step 4: Understanding the Flow
With the setup complete, here is how the Smart Wallet operates:
- Authentication: The user logs in (e.g., via email or social).
- Wallet Provisioning: The app requests the backend to create an encryption session. The
OpenfortProviderthen generates the Shield keys on the device. - Transfer: When the user initiates a USDC transfer, the app constructs a UserOperation.
- Sponsorship: This operation is sent to Openfort's bundler, which checks the Policy ID. If valid, the gas fees are sponsored.
- Execution: The transaction is executed on-chain, and the USDC is transferred.
Conclusion
By leveraging Openfort's infrastructure, you've set up a smart wallet that abstracts away the complexities of gas fees and seed phrases. This provides a familiar experience while maintaining the security and self-custody benefits of on-chain technology.
Check out the full source code to dive deeper into the implementation details.