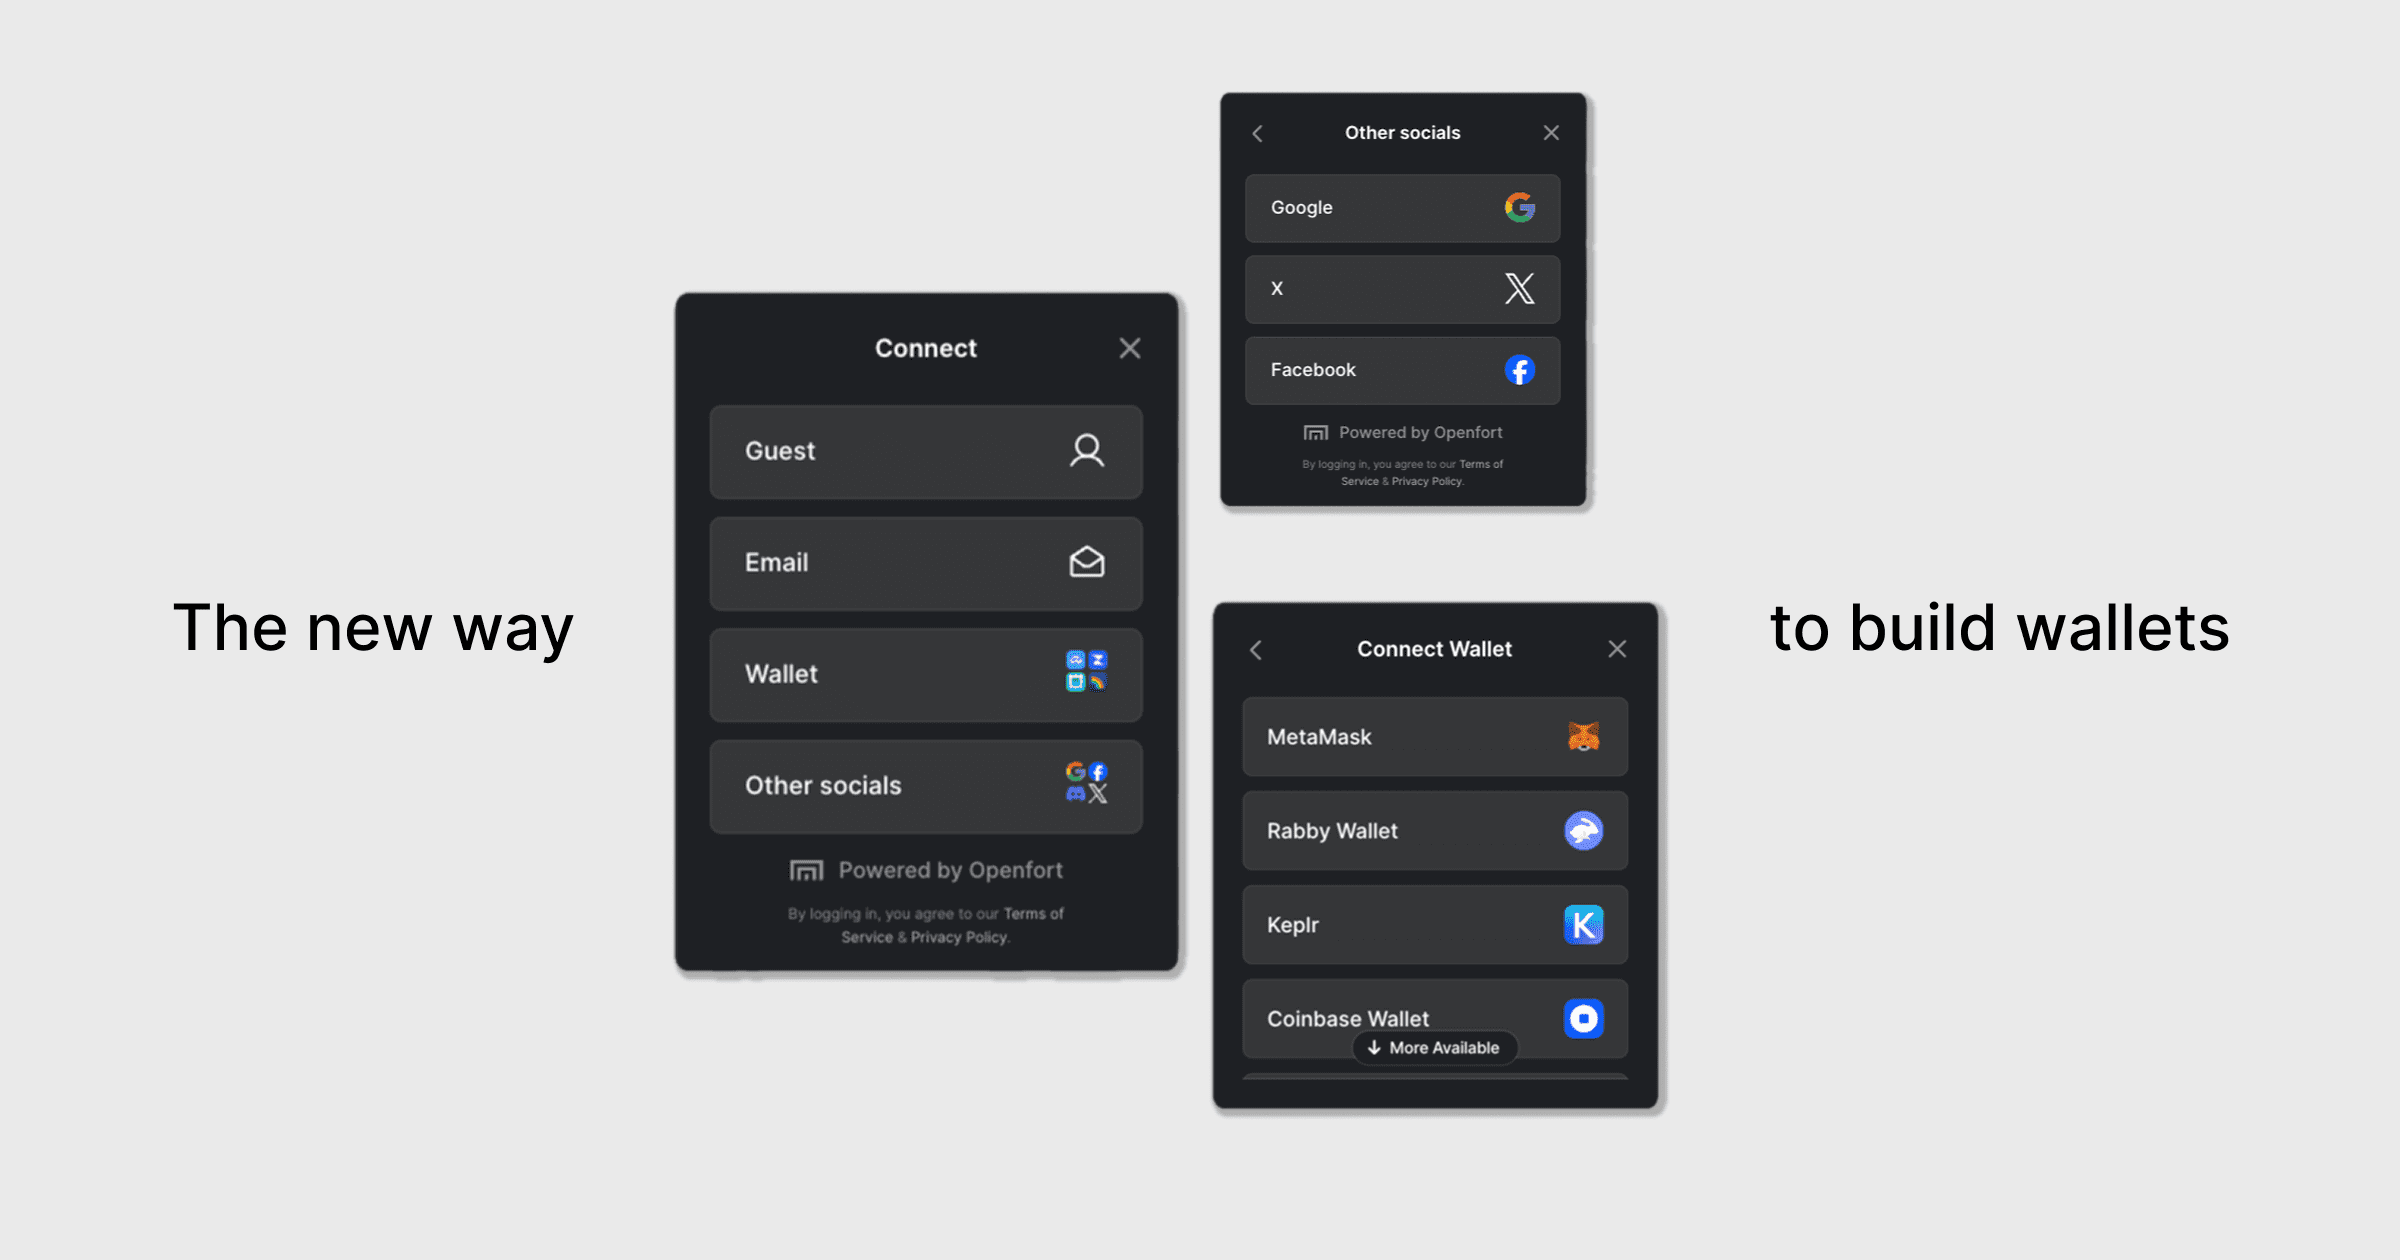
Create React App with Openfort Kit

Simply run the following command to get started:
yarn create openfortkitThe Openfort Kit CLI is a command line tool that helps you quickly set up a new Openfort project with all the necessary dependencies and configurations. It allows you to customize your project by selecting different options during the setup process. You can select across:
- Framework: (Vite or Next.js)
- Auth providers: (email, socials, etc.)
- Wallet recovery method
- Theming
Manual installation
1. Install
Start by installing Openfort Kit and its peer dependencies using your package manager of choice:
npm install @openfort/openfort-kit wagmi viem@^2.22.0 @tanstack/react-query2. Get your API keys
In the API keys section of Openfort dashboard, you will find:
- Publishable Key: Safe to expose in client-side environment
- Secret Key: Must be kept secure and used only server-side
To generate non-custodial wallets:
- Scroll to the Shield section and click Create Shield keys
- Store the encryption share safely when it appears (you'll only see it once)
- You'll receive:
- Shield Publishable Key: Safe for client-side use
- Shield Secret Key: Keep secure, server-side only
You will also need a walletConnect project ID. You can get one by creating a project on the WalletConnect dashboard.
3. Set up providers.
Set up providers for Wagmi, TanStack Query, and OpenfortKit.
To set up a config for Wagmi, we will use Wagmi's createConfig function with @openfort/openfort-kit's getDefaultConfig function. This automatically sets up the Wagmi instance to support all chains and transports supported by Openfort. If you need more configuration go to the Wagmi configuration guide.
To set up OpenfortKitProvider we will need the publishable key from the Openfort dashboard, and the wallet configuration. More information on the wallet configuration can be found here.
"use client";
import React from "react";
import {
AuthProvider,
OpenfortKitProvider,
getDefaultConfig,
RecoveryMethod,
} from "@openfort/openfort-kit";
import { QueryClient, QueryClientProvider } from "@tanstack/react-query";
import { WagmiProvider, createConfig } from "wagmi";
import { polygonAmoy } from "viem/chains";
const config = createConfig(
getDefaultConfig({
appName: "OpenfortKit demo",
walletConnectProjectId: "YOUR_WALLET_CONNECT_PROJECT_ID",
chains: [polygonAmoy],
ssr: true, // Enable server-side rendering if needed
})
);
const queryClient = new QueryClient();
export function Providers({ children }: { children: React.ReactNode }) {
return (
<WagmiProvider config={config}>
<QueryClientProvider client={queryClient}>
<OpenfortKitProvider
// Set the publishable key of your OpenfortKit account. This field is required.
publishableKey={"YOUR_PUBLISHABLE_KEY"}
// Set the wallet configuration. In this example, we will be using the embedded wallet.
walletConfig={{
createEmbeddedSigner: true,
embeddedSignerConfiguration: {
shieldPublishableKey: "YOUR_SHIELD_PUBLISHABLE_KEY",
// Set the recovery method you want to use, in this case we will use the password recovery method
recoveryMethod: RecoveryMethod.PASSWORD,
// With password recovery we can set the encryption key to encrypt the recovery data
// This way we don't have a backend to store the recovery data
shieldEncryptionKey: "YOUR_SHIELD_ENCRYPTION_SHARE",
},
}}
>
{children}
</OpenfortKitProvider>
</QueryClientProvider>
</WagmiProvider>
);
}Wrap your app in the Providers component as shown above.
4. You're good to go!
Once you've configured your app, you can now use OpenfortKitButton to onboard your users.
import { OpenfortKitButton } from "@openfort/openfort-kit";
function App() {
return (
<div>
<OpenfortKitButton />
</div>
);
}
export default App;Next steps
Now that you've set up Openfort Kit, you can explore more features and customization options:

