# Use session keys
Session keys are programmable access tokens with specific permissions, designed for controlled interactions. Examples include:
* Granting access to specific areas or features
* Limiting usage to a set amount of resources (for example, 1000 units of currency)
* Time-bound validity (for example, expiring after three days)
Permissions can be combined, enabling fine-tuned, context-specific capabilities.
:::tip
Check out our sample registering a session key with an account with a non-custodial signer: [GitHub source](https://github.com/openfort-xyz/openfort-js/tree/main/examples/apps/auth-sample).
:::
This section guides you through registering a session key and using it to mint an asset with a user's smart account. Choose your preferred implementation approach:
## Standard (EIP-1193 provider)
Using [EIP-7715](https://github.com/pedrouid/ERCs/blob/19c16341c57f6ac8770cb778d60845dcf30f6a40/ERCS/erc-7715.md). The `request` method of the EIP-1193 provider can be used to request signatures. First, get the provider:
:::code-group
```tsx [client.tsx]
import openfort from "./openfortConfig"
// This example assumes you have already checked that Openfort 'embeddedState' is
// `ready` and the user is `authenticated`
const provider = await openfort.embeddedWallet.getEthereumProvider();
```
```ts [openfortConfig.ts]
import { Openfort } from '@openfort/openfort-js';
const openfort = new Openfort({
baseConfiguration: {
publishableKey: "YOUR_OPENFORT_PUBLISHABLE_KEY",
},
shieldConfiguration: {
shieldPublishableKey: "YOUR_SHIELD_PUBLISHABLE_KEY",
},
});
export default openfort;
```
:::
Smart wallets support sending a batch of transactions in a single, atomic submission to the network.
To register a session key with a smart wallet, call the `wallet_grantPermissions` method.
As an example, you might batch together a transaction to approve a USDC spender and to transfer USDC like so:
```tsx
import { generatePrivateKey, privateKeyToAccount } from 'viem/accounts';
const sessionKey = generatePrivateKey();
const accountSession = privateKeyToAccount(sessionKey).address;
await provider.request({
method: 'wallet_grantPermissions',
params: [
{
signer:{
type: "account",
data:{
id: accountSession
}
},
expiry: 60 * 60 * 24,
permissions: [
{
type: 'contract-call',
data: {
address: '0x2522f4fc9af2e1954a3d13f7a5b2683a00a4543a',
calls: []
},
policies: []
}
],
},
],
});
```
### Integration with wallet libraries
Popular libraries provide convenient methods for registering session keys:
| Library | Method |
|---------|--------|
| Viem | [Use the `wallet_grantPermissions` action](https://viem.sh/experimental/erc7715/grantPermissions) |
## Openfort SDK method
:::info
There are two types of session keys in Openfort: client session keys and server session keys.
* **Client session keys** are created on the client side and are used to mint assets with a user's smart account.
* **Server session keys** are created on the client by a key pair and send the address computed to the server.
:::
### 1. Create a session key Client side
:::note
For a general overview of session keys, see the [Session keys](https://www.openfort.io/blog/technical-dive-session-keys) post. For more information about using the session key endpoints, visit our [API documentation](https://openfort-xyz.github.io/swagger-api-doc/).
:::
After you authenticate your user with your regular authentication system, you can create a session key for them.
To create a session key, generate a key pair on the client side and send the address computed from the public key to your server.
Using one of the official Openfort client libraries, everything is handled for you.
1. Install the client-side library:
:::code-group
```sh [npm]
npm install @openfort/openfort-js --save
```
```sh [yarn]
yarn add @openfort/openfort-js
```
```sh [pnpm]
pnpm add @openfort/openfort-js
```
:::
2. Initialize Openfort and create a session key:
```ts client.ts
// Set your public key. Remember to switch to your live PUBLIC key in production.
// See your keys here: https://dashboard.openfort.io/api-keys
import { Openfort } from '@openfort/openfort-js';
const openfort = new Openfort({
baseConfiguration: {
publishableKey: "YOUR_OPENFORT_PUBLISHABLE_KEY"
}
});
```
### 1. Create a session key Server side
:::details\[Viem create session key]
```tsx
import { generatePrivateKey, privateKeyToAccount } from 'viem/accounts';
const sessionKey = generatePrivateKey();
const accountSession = privateKeyToAccount(sessionKey).address;
```
:::
:::details\[Ethers create session key]
Using [ethers](https://www.npmjs.com/package/ethers), you can create a key pair on the server side of your application.
```ts
const sessionKey = ethers.Wallet.createRandom();
```
:::
The parameter `sessionKey` contains the address that you need to register.
After creating the session key, you can go ahead and register it.
### 2. Register a session key Server side Client side
To register a session key, first send the address from the session key to your server.
You can get the address from the session key object created above like this:
```ts client.ts
const address = sessionKey.address;
```
Then, from your server, make a request to the Openfort API or use one of our server libraries to register the session key.
Install Openfort on your server and initialize it with your secret key.
:::code-group
```sh [npm]
npm install @openfort/openfort-node
```
:::
Initialize with your secret key:
:::code-group
```ts [node]
import Openfort from '@openfort/openfort-node'
const openfort = new Openfort('sk_test_...');
```
:::
The created session key would be valid since the 25th of May 2023 at 7:50 GMT (timestamp `1685001000`) and last for 1 hour (timestamp `1685001000`).
For a useful resource to calculate timestamps online, visit [UNIX Timestamp](https://www.unixtimestamp.com/).
Also, note how a `policy` indicates the gas sponsorship that covers the gas fees of the transaction to register the session key.
Register the session key using Openfort:
:::code-group
```bash [curl]
curl https://api.openfort.io/v1/sessions \
-H "Authorization: Bearer $YOUR_SECRET_KEY" \
-d address="0x76e6...9341" \
-d chainId=80002 \
-d validUntil=1685004600 \
-d validAfter=0 \
-d account="acc_..." \
-d policy=pol_...
```
```ts [node]
const accountId = 'acc_...'
const chainId = 80002
const sessionKeyAddress = '0x76e6...9341'
const policyId = 'pol_...'
const validUntil = 1685001000
const validAfter = 0
const session = await openfort.sessions.create({
account: accountId,
address: sessionKeyAddress,
chainId: chainId,
validUntil: validUntil,
validAfter: validAfter,
policy: policyId,
})
```
:::
### 3. Authorize the session key Client side
The owner of the account needs to authorize the new session key.
To do so, sign the `signableHash` from the `nextAction` object returned by the API call to register the session key.
```json
"nextAction": {
"type": "sign_with_wallet",
"payload": {
"signableHash": "0x91b4efe3648c79467f7b50aa9bb1b4eae383a52dd6d741d39ece29ed2ef8362d"
}
},
```
Once signed by the owner signer of the account,
send it to Openfort using the endpoint `/v1/sessions/:id/signature` or the client SDK's `sendSignatureSessionRequest` method:
:::code-group
```bash [curl]
curl https://api.openfort.io/v1/sessions/ses_.../signature \
-H "Authorization: Bearer $YOUR_PUBLISHABLE_KEY" \
-d signature="xyz..."
```
```ts [node]
await openfort.sessions.signature(
session.id,
{ signature: SIGNED_USED_OP_HASH }
)
```
```ts [client SDK]
// Using the embedded wallet client SDK
const response = await openfort.proxy.sendSignatureSessionRequest(
session.id, // Session ID
signature, // Signed hash
false // optimistic: set true to skip waiting for confirmation
);
```
:::
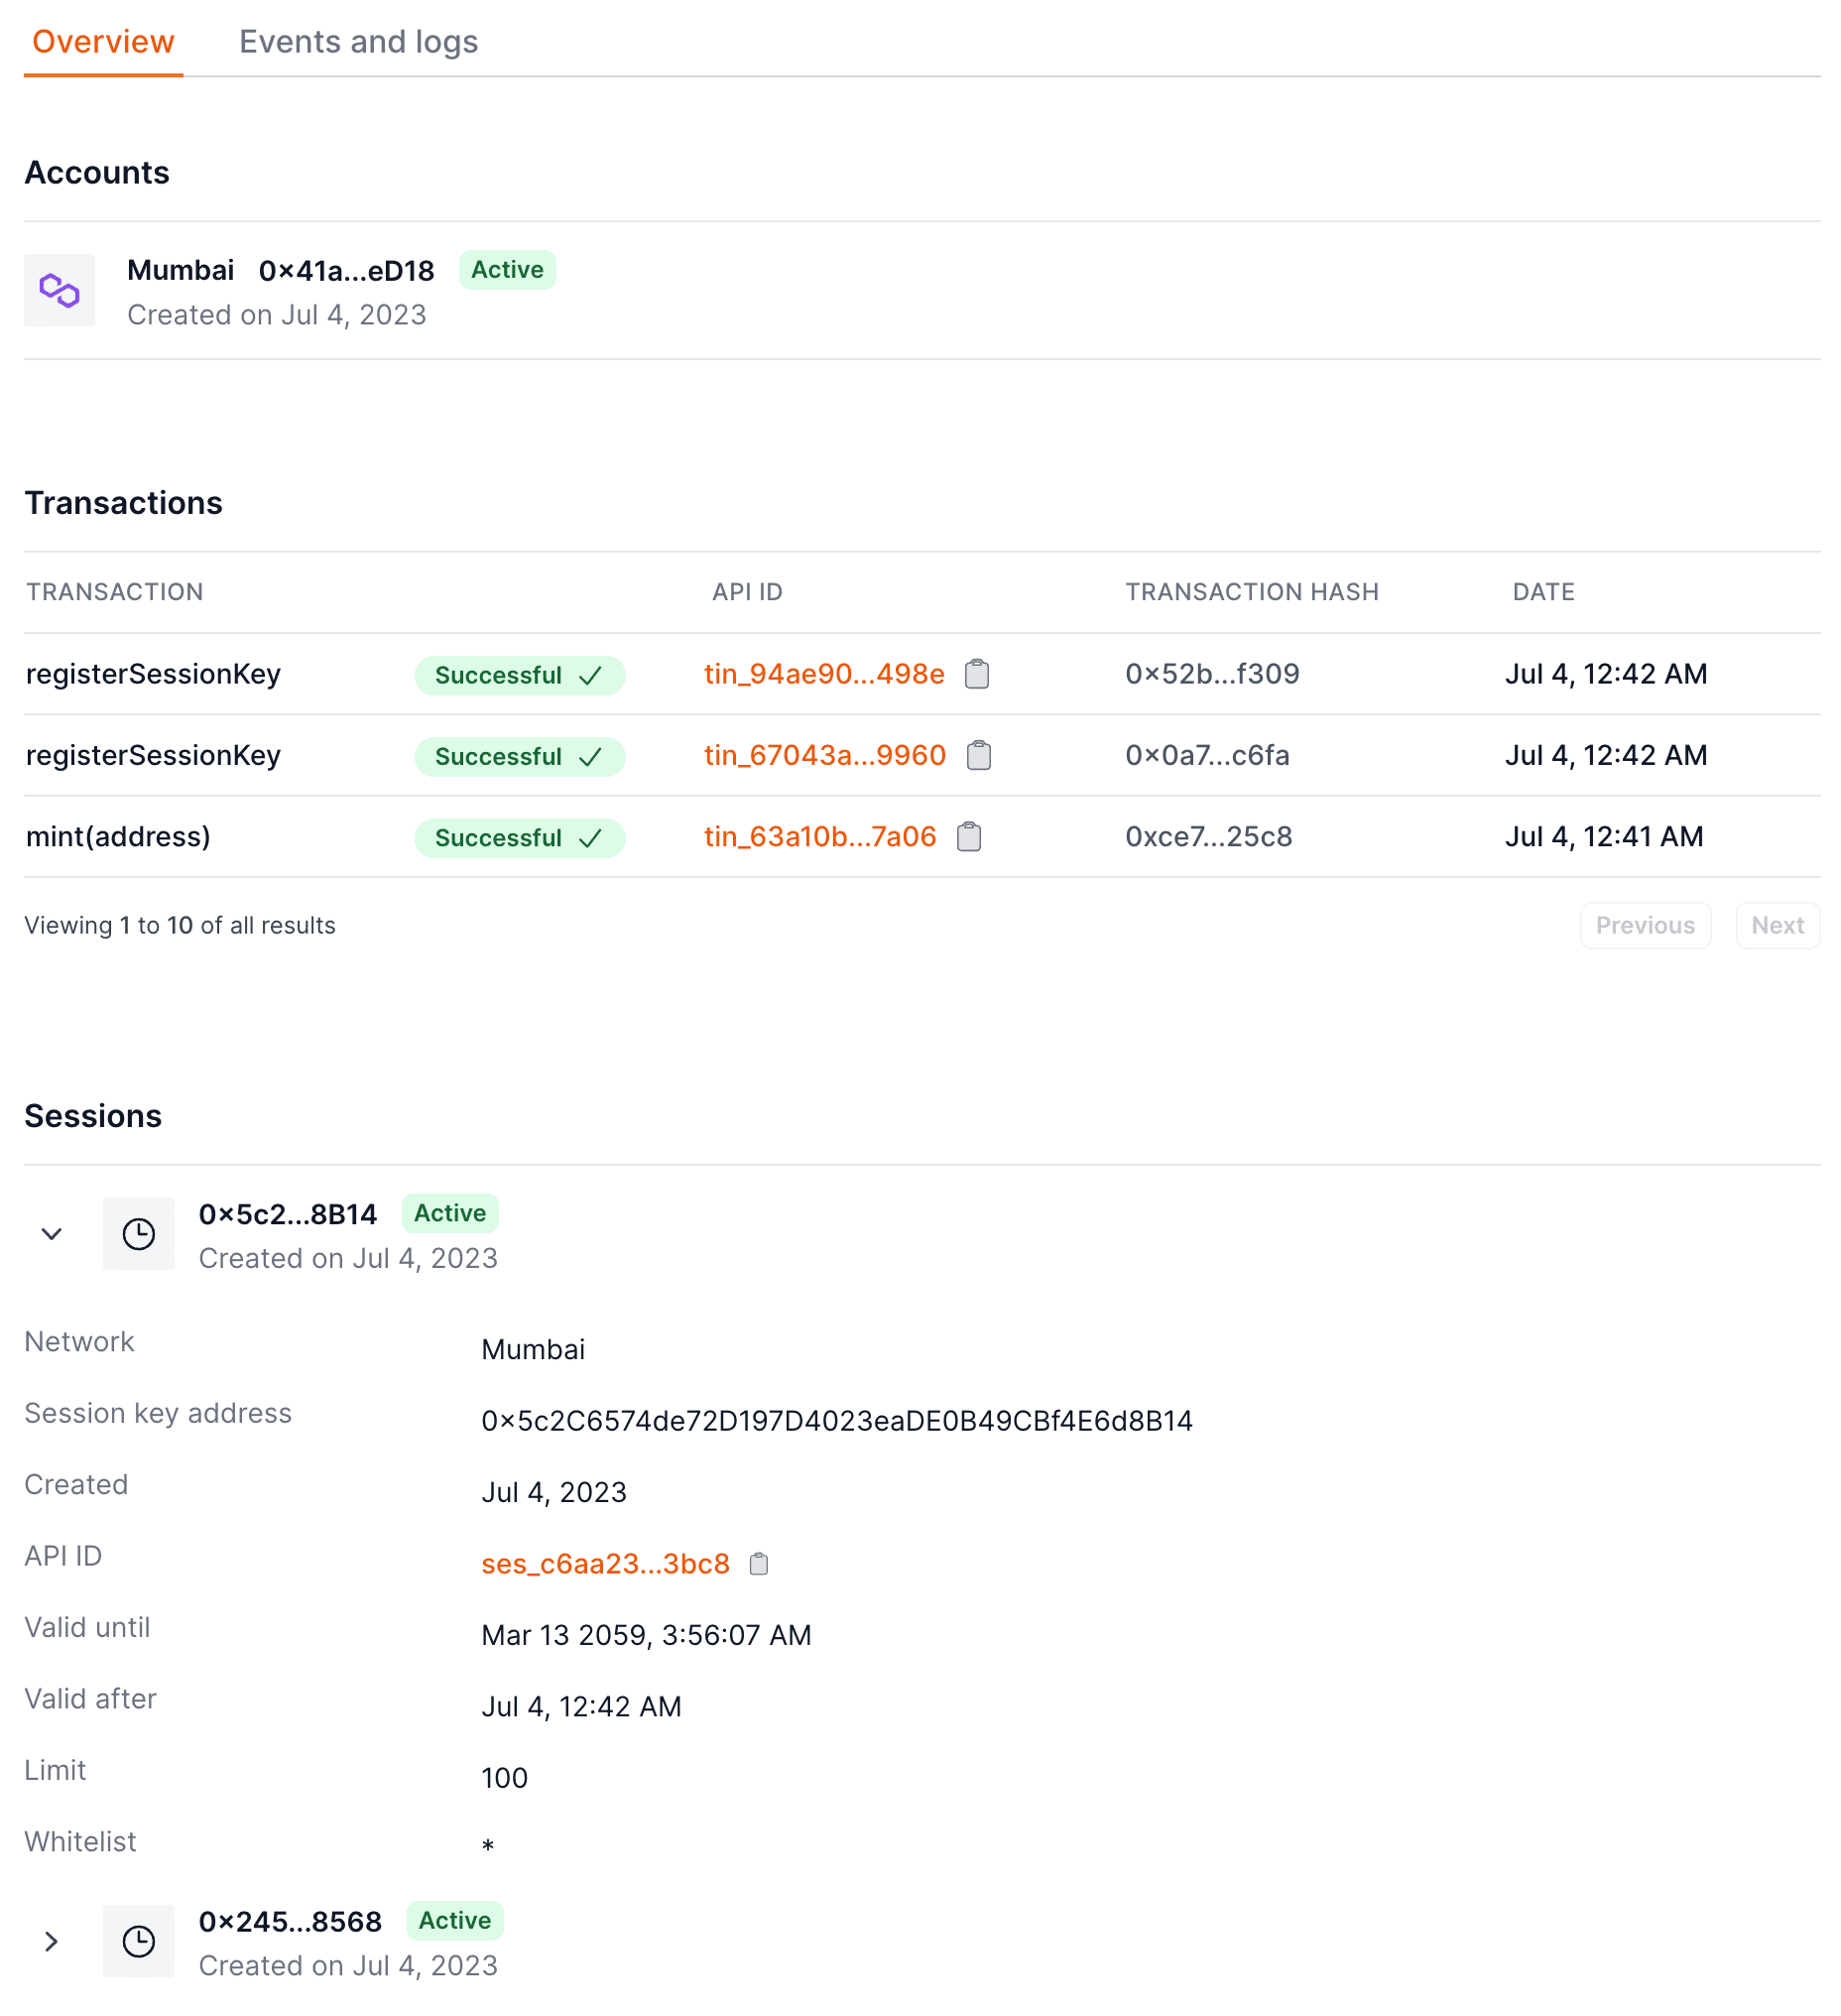
After registering the session key, you can see it in the dashboard under the user's page.
### 4. Use the session key Server side Client side
After the session key is registered, it can be used to authenticate requests from the user.
Whenever you create a transaction intent from your backend, a signature is needed from the session key or owner of the users' smart account.
Create a transaction intent:
:::code-group
```bash [curl]
curl https://api.openfort.io/v1/transaction_intents \
-H "Authorization: Bearer $YOUR_SECRET_KEY" \
-H "Content-Type: application/json" \
-d '{
"account": "acc_...",
"chainId": 80002,
"policy": "pol_...",
"interactions": [{"contract": "con_...", "functionName": "mint", "functionArgs": ["0x..."]}]
}'
```
```ts [node]
const accountId = 'acc_...'
const policyId = "pol_...";
const contractId = "con_...";
const chainId = 80002;
const optimistic = true;
const interaction: Interaction = {
contract: contractId,
functionName: "mint",
functionArgs: ["0x..."],
};
const transactionIntent = await openfort.transactionIntents.create({
account: accountId,
chainId: chainId,
optimistic: optimistic,
interactions: [interaction],
policy: policyId,
})
```
:::
After creating the transaction intent, the session key needs to sign the nextAction `signableHash` and send it to Openfort.
The response of the call to transaction intents contains a `nextAction` object like this:
```json
"nextAction": {
"type": "sign_with_wallet",
"payload": {
"signableHash": "0x91b4efe3648c79467f7b50aa9bb1b4eae383a52dd6d741d39ece29ed2ef8362d"
}
},
```
This `signableHash` needs to be signed by the session key like so:
:::details\[Viem session signing example]
```tsx
import { generatePrivateKey, privateKeyToAccount } from 'viem/accounts';
const sessionKey = '0x...'; // The private key of the session key
const accountSession = privateKeyToAccount(sessionKey);
const signature = await accountSession.signMessage({message: {raw: signableHash}});
```
:::
### 5. Revoke a session key Client side Server side
The owner of the account can always revoke the session key.
To do so, sign the `signableHash` from the `nextAction` object returned by the API call to revoke the session key.
:::code-group
```bash [curl]
curl https://api.openfort.io/v1/sessions/revoke \
-H "Authorization: Bearer $YOUR_SECRET_KEY" \
-d account=acc_... \
-d address="0x76e6...9341" \
-d chainId=80002 \
-d policy=pol_...
```
```ts [node]
const accountId = 'acc_...'
const policyId = 'pol_...'
const chainId = 80002
const sessionKeyAddress = '0x76e6...9341'
const revokeSession = await openfort.sessions.revoke({
account: accountId,
address: sessionKeyAddress,
chainId: chainId,
optimistic: true,
policy: policyId,
})
```
:::
Make sure to sign the `signableHash` with the owner account and send it to Openfort using the endpoint `/v1/sessions/:id/signature`.