# Integrating with RainbowKit
Learn how to integrate your Global Wallet with RainbowKit.
## Installation
Install the `@rapidfire/id` SDK and its peer dependencies:
```bash
npm i @rapidfire/id @rainbow-me/rainbowkit @tanstack/react-query
```
## Import
The `rapidfire/id` package includes the `EcosystemWallet` connector you can use to add your Global Wallet as a connection option in your RainbowKit ConnectButton.
```ts config.ts
import EcosystemWallet from '@rapidfire/id';
```
## Usage
### 1. Configure the Providers
At the highest level of your applications, wrap the component with the wagmi, QueryClient, and RainbowKit providers. Pass the configuration you created in step 2 to the wagmi provider.
All of **global wallets** can export a standard [EIP-1193 provider](https://eips.ethereum.org/EIPS/eip-1193) object. This allows your app to request signatures and transactions from the wallet, using familiar JSON-RPC requests like `personal_sign` or `eth_sendTransaction`.
:::note
[EIP-1193](https://eips.ethereum.org/EIPS/eip-1193), also known as the Ethereum JavaScript API, is a standardized interface for how applications can request information, signatures, and transactions from a connected wallet.
:::
To get a wallet's EIP-1193 provider, use the `getEthereumProvider` method:
:::code-group
```tsx [app.tsx]
import {QueryClient, QueryClientProvider} from '@tanstack/react-query';
import {WagmiProvider} from 'wagmi';
import {baseSepolia} from 'wagmi/chains';
import {useEffect} from 'react';
import {config} from './wagmiConfig';
import {identityInstance} from './config';
const queryClient = new QueryClient();
export default function App() {
useEffect(() => {
if (!identityInstance) return;
identityInstance.getEthereumProvider();
}, []);
return (
);
}
```
```ts [wagmiConfig.ts]
import {http, createConfig} from 'wagmi';
import {baseSepolia} from 'wagmi/chains';
import {injected} from 'wagmi/connectors';
export const config = createConfig({
chains: [baseSepolia],
connectors: [injected()],
ssr: true,
transports: {
[baseSepolia.id]: http(),
},
});
```
```ts [config.ts]
import EcosystemWallet from '@rapidfire/id';
export const identityInstance = new EcosystemWallet({
appChainIds: [80002],
appLogoUrl: 'https://a.rgbimg.com/users/b/ba/barunpatro/600/mf6B5Gq.jpg',
appName: 'Example App',
});
```
:::
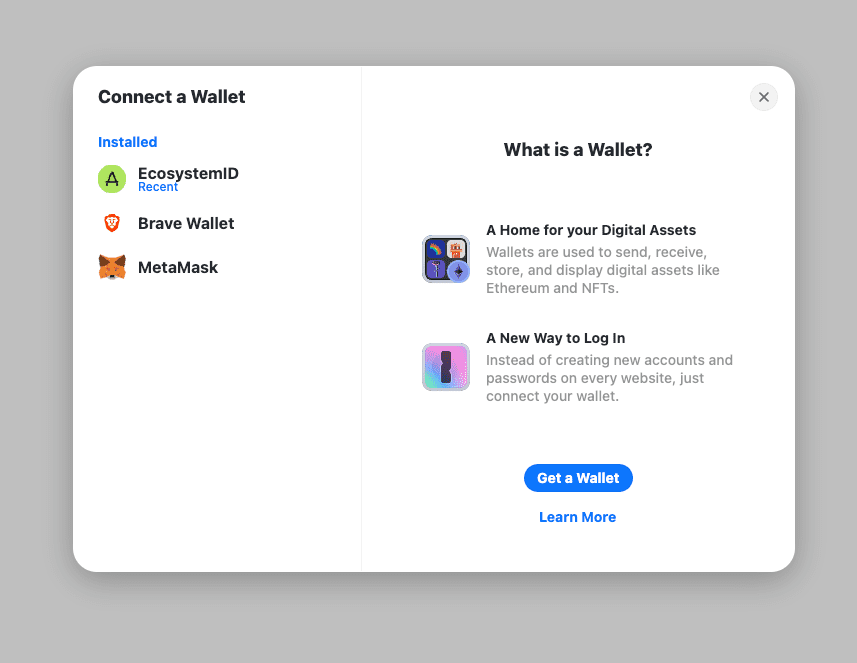
### 2. Render the `ConnectButton`
Import the `ConnectButton` and use to prompt users to connect to their provider **global wallet**.
```tsx
import {ConnectButton} from '@rainbow-me/rainbowkit';
export default function Home() {
return ;
}
```
Thats it! You can now use any wagmi hook in your application to interact with the connected wallet. When users connect and transact with their wallet, Openfort will open a pop-up for users to authorize any actions.