


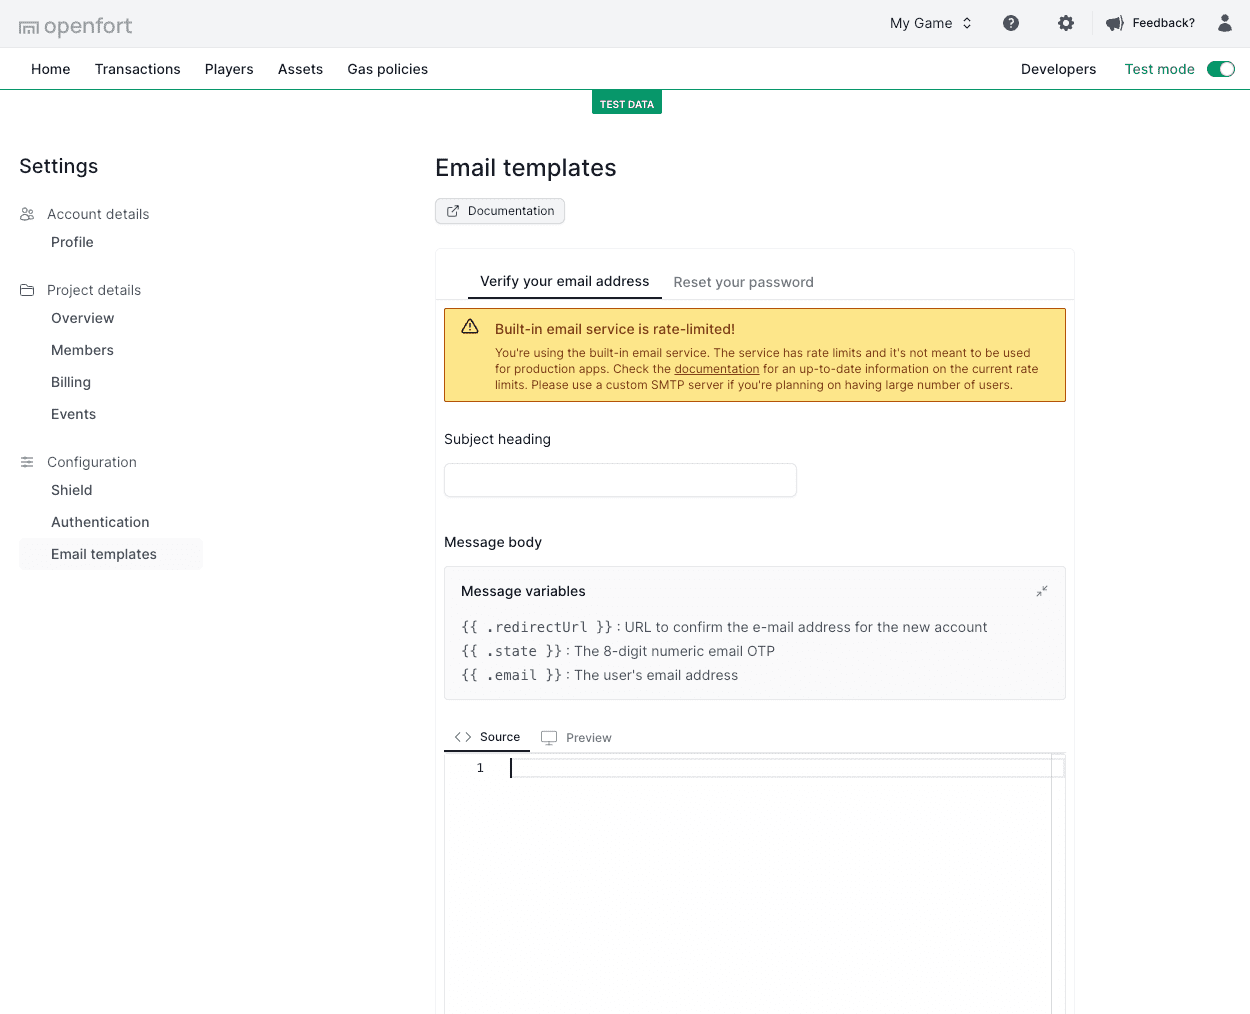
Enter the code: {{ .state }}
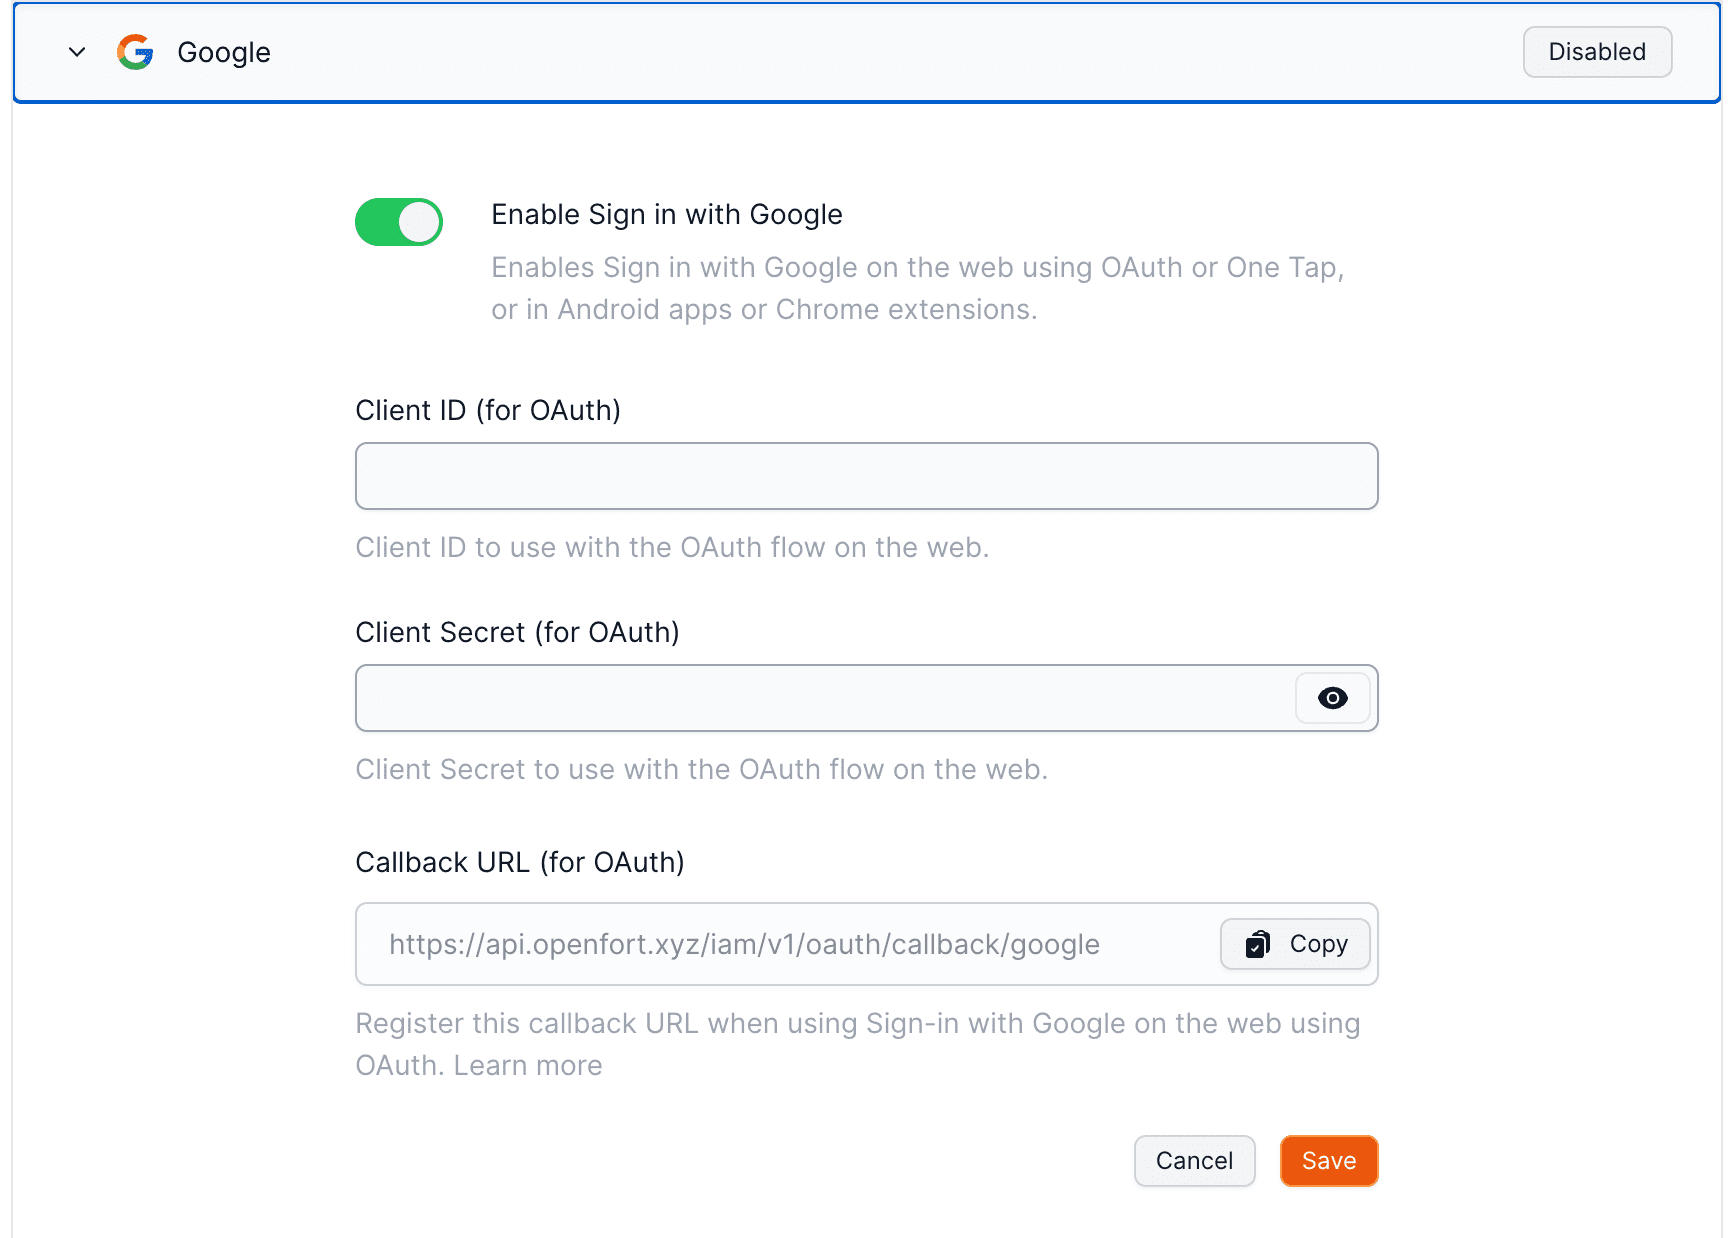
``` ## Password-based Auth :::note Email authentication with global wallets You only need to enable this toggle if you're developing an global wallets.

Step by step guide to create your own wallet.
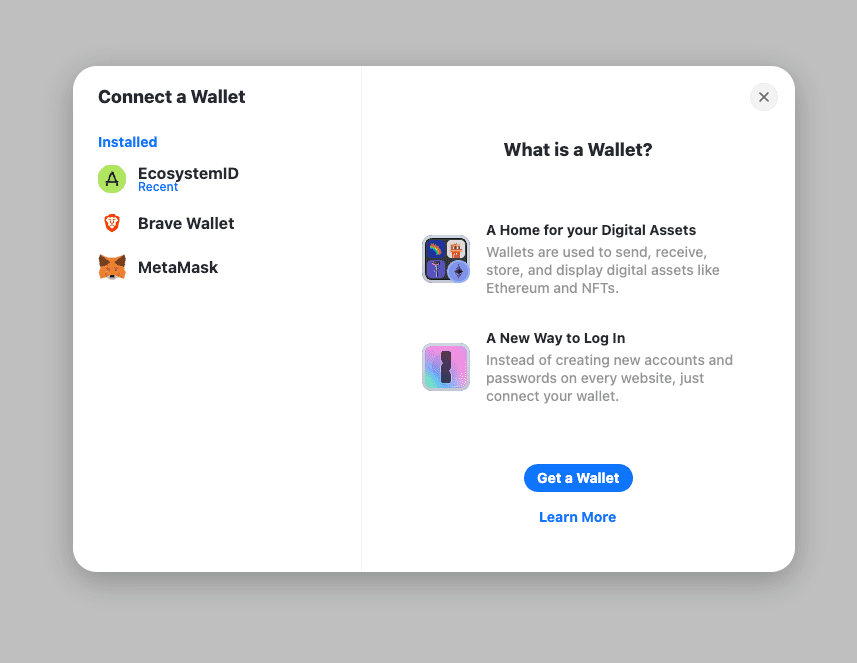
Using a global wallet with popular wallet connectors.
Integrate a global wallet with Wagmi.


Status: {callsStatus.status}
{callsStatus.status === 'CONFIRMED' && (Transaction confirmed! Hash: {callsStatus.receipts[0].transactionHash}
)}